Ham Salami Turkey Sandwich Recipe
Did you know that Americans eat more than 300 million sandwiches every day? Yet, most people stack their ingredients randomly, creating a mess that falls apart after the first bite.
The perfect sandwich is an art form – especially when you’re working with premium ingredients like ham, salami, and turkey. Each layer matters, from the bread choice to the final garnish. Just throwing cold cuts between two slices of bread won’t cut it anymore.
Think about your last homemade sandwich. Was it properly balanced? Did the flavors complement each other? Did it hold together until the last bite? If not, you’re about to discover the professional techniques that transform an ordinary sandwich into a masterpiece.
Ready to learn the secrets of crafting the ultimate ham, salami, and turkey sandwich? Let’s build something delicious together.
Selecting Premium Ingredients
The foundation of an exceptional sandwich lies in selecting premium ingredients. Let’s start with the cornerstone of your creation – the meat selection.
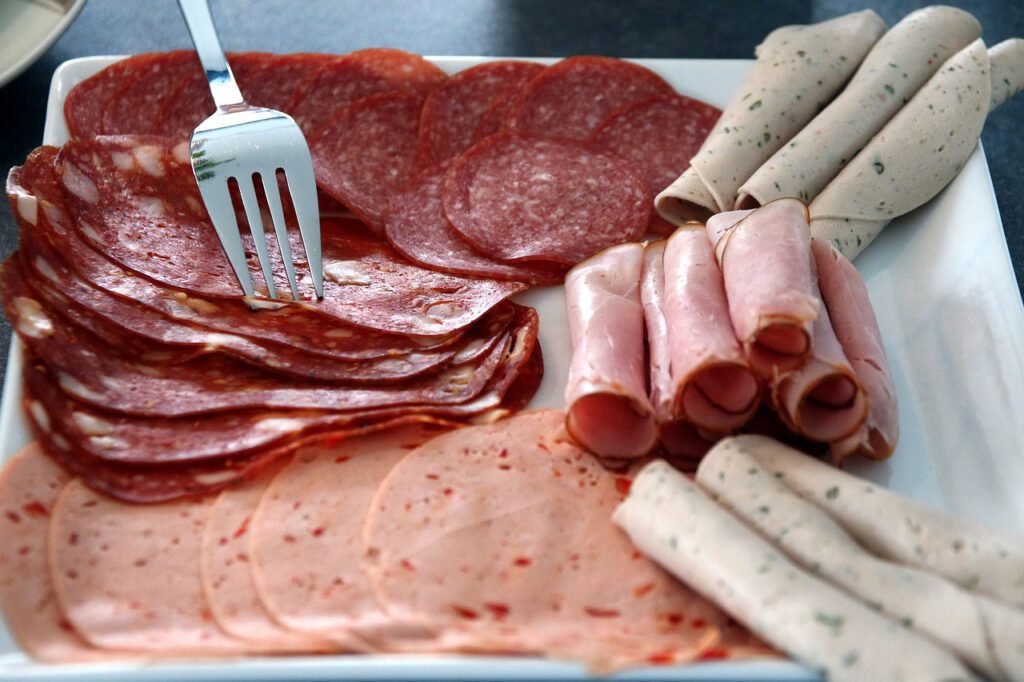
Choosing Quality Cold Cuts
For the best results, always opt for fresh-sliced meats from the deli counter rather than pre-packaged options, as they contain fewer ingredients and preservatives When selecting your cold cuts, focus on lean, high-quality options like turkey breast, chicken, or roast beef as your base proteins. For salami, look for varieties made with simple ingredients – quality versions should contain primarily pork, beef, salt, and spices.
Pro tip: Request your deli meats to be sliced thin enough to drape naturally but not so thin they stick together in what professionals call a “meat wad”.
Best Cheese Varieties
The right cheese can elevate your sandwich from good to extraordinary. Here are the top choices that complement cold cuts perfectly:
- American: Opt for organic varieties that offer real dairy flavor without artificial ingredients
- Provolone: Adds a sharp, distinctive taste that pairs especially well with salami
- Swiss: Creates a perfect balance with turkey and ham
- Sharp Cheddar: Brings a bold flavor that stands up to stronger meats
Fresh Produce Selection
Fresh vegetables aren’t just toppings – they’re crucial flavor components. Start by washing all produce thoroughly, even if it appears clean. This simple step not only ensures safety but also revitalizes the vegetables’ crispness.
For optimal flavor, lightly season your cleaned lettuce with a pinch of sea salt and freshly ground black pepper. Consider adding creamy-sharp slaws or tangy pickled vegetables to introduce brightness and contrast to your sandwich.
Temperature tip: Even with cold cuts, consider briefly warming your meats before assembly – it enhances their natural flavors and brings out their inherent sweetness and savory notes.
Mastering the Perfect Bread Base
The perfect sandwich begins with choosing the right foundation. Your bread selection can make or break your creation, especially when working with premium meats like salami, ham, and turkey.
Types of Sandwich Breads
The ideal bread should complement your cold cuts while maintaining structural integrity. Here are the top choices for your sandwich:
- Ciabatta: Perfect for Italian-style sandwiches, featuring a crusty exterior and soft interior that absorbs flavors
- Sourdough: Offers a slightly nutty flavor and thin crust, ideal for toasting
- Pretzel Rolls: Dense and sturdy, excellent for heavier meat combinations
- Cuban Bread: Features a crisp outer crust and incredibly soft crumb inside
Proper Storage Methods
Proper storage is crucial for maintaining bread freshness. A quality breadbox creates the perfect humid environment to keep your bread at its peak for three to four days. For longer storage, the freezer is your best friend – it halts the staling process and can preserve bread for up to three months.
Important: Never store bread in the refrigerator, as this can speed up the staling process by up to six times. If freezing, slice your bread first and place wax paper between slices for easy removal.
Toasting Techniques
Toasting enhances flavor and creates the perfect texture for your sandwich. Here are professional methods for different bread types:
For ciabatta, brush with oil and broil until lightly golden on both sides. When toasting sourdough, aim for a warm, moderately crisp texture rather than fully toasted. For whole loaves from the freezer, bake at 325°F for 25-30 minutes.
Pro tip: If toasting multiple slices, use the oven’s broiler setting for consistent results across all pieces. This method works particularly well when preparing sandwiches for a group.
Remember that different breads have varying shelf lives – those with added fats, like brioche, stay fresh longer than lean breads like baguettes. Store your bread cut-side down on the cutting board to prevent excessive drying.
The Art of Layering
Layering ingredients isn’t just about stacking – it’s about creating a balanced, stable structure that enhances every bite. Professional sandwich makers understand that proper layering prevents slipping, maintains texture, and delivers consistent flavor.
Strategic Meat Placement
Start with your meats at the bottom of your sandwich. For optimal results, fold each slice of meat instead of laying it flat – this creates air pockets that improve texture and help the sandwich hold together. When working with multiple meats, alternate between ham, turkey, and salami in folded layers.
Pro tip: Create height by folding meat in ribbons rather than laying it flat. This technique helps build a sturdy base for other ingredients while adding visual appeal.
Cheese and Vegetable Positioning
Place cheese directly above your meat layer – it acts as a natural adhesive when slightly melted. For cold sandwiches, position cheese slices strategically:
- Dense ingredients (meat and cheese) work better at the bottom
- Lighter items like lettuce and tomatoes belong near the top
- Use shredded lettuce between layers to prevent slipping
Moisture Control Tips
Preventing soggy bread is crucial for the perfect sandwich. Here’s how to maintain optimal moisture balance:
Create protective barriers using these proven techniques:
- Pat dry all wet ingredients thoroughly with paper towels
- Season and drain tomato slices before adding them
- Use lettuce as a moisture barrier between wet ingredients and bread
Important: When using pickled ingredients or vegetables from brine, always pat them dry before adding to your sandwich. This simple step makes a significant difference in maintaining bread integrity.
For maximum stability, consider temperature when layering. Cold ingredients should be thoroughly dried, and if using warm components, let them cool slightly before assembly. This prevents unwanted condensation that could compromise your sandwich’s structure.
Remember to spread condiments directly onto both bread slices – this creates a protective barrier against moisture while adding flavor. However, when using multiple wet ingredients, position them toward the center of your sandwich, away from the bread.
Expert insight: “The placement of cheese depends on its type – sharper aged cheeses work better on top below the vegetables, while milder cheeses like mozzarella belong on the bottom”.
Creating Signature Spreads
A signature spread can transform your sandwich from ordinary to extraordinary. While classic mayo and mustard have their place, exploring creative combinations opens up new flavor possibilities for your cold cut creations.
Classic Condiment Combinations
The secret to an unforgettable sandwich lies in combining complementary spreads. Here are time-tested pairings that enhance your cold cuts:
- Honey Mustard Mayo: Mix mayonnaise with honey and whole grain mustard for a sweet-tangy blend
- Chipotle Mayo: Blend mayonnaise with chipotle peppers for smoky heat
- Garlic-Basil Mayo: Combine fresh basil, garlic, and mayo for an herbal kick
- Horseradish Cream: Perfect for adding zesty heat to meat-heavy sandwiches
Homemade Spread Recipes
Creating your own spreads allows you to control flavors and ingredients. Here’s a professional-grade recipe for an Italian-Style Relish that pairs perfectly with salami:
- Combine finely chopped black and green olives (3 oz each)
- Add 2 roasted red peppers
- Mix in 1 clove minced garlic and 1 teaspoon oregano
- Blend with 2 tablespoons each of olive oil and red wine vinegar
- Let rest for optimal flavor development
Pro tip: This relish tastes even better the second day and keeps well in the refrigerator for up to a week.
Flavor Pairing Guide
Understanding which spreads complement specific meats elevates your sandwich-making skills:
For Turkey:
- Pesto pairs excellently with turkey and sun-dried tomatoes
- Cranberry relish adds sweet-tart balance
For Ham:
- Honey-balsamic mustard sauce enhances ham’s natural sweetness
- Spicy avocado spread cuts through rich flavors
For Salami:
- Olive tapenade complements the meat’s saltiness
- Roasted garlic aioli adds depth without overwhelming
Expert insight: “Start with few elements and add as you go – find your favorite cheese and meat combination first, then add complementary spreads”.
Remember to consider texture alongside flavor – creamy spreads help bind ingredients together while adding moisture. When experimenting with new combinations, follow the professional principle: if you don’t enjoy each element individually, you won’t like it in your sandwich.
Professional Assembly Techniques
Mastering professional sandwich assembly requires attention to both safety and style. Let’s explore the techniques that elevate a simple sandwich into a culinary masterpiece.
Temperature Considerations
Food safety starts with proper temperature control. Keep all perishable ingredients below 41°F to prevent bacterial growth. For optimal safety, follow these critical guidelines:
- Never leave ingredients at room temperature for more than 2 hours
- If the ambient temperature exceeds 90°F, reduce exposure time to 1 hour
- Store sliced deli meats for no more than five days after opening
- Pre-chill all ingredients before assembly
Pro tip: Consider warming certain meats briefly before assembly to enhance their natural flavors, but ensure quick assembly to maintain food safety.
Cutting and Serving Methods
The way you cut your sandwich can significantly impact both presentation and eating experience. Recent innovations have introduced several cutting techniques:
The Y-cut has gained popularity for its optimal crust-to-filling ratio. This method creates three pieces with maximal surface area without sacrificing structural integrity. For traditional options:
- Diagonal Cut: Provides the longest non-crust edge, perfect for showcasing layered ingredients
- Vertical Cut: Ideal for oval-shaped breads like sourdough
- Horizontal Cut: Best avoided unless specifically requested
Presentation Tips
Professional presentation transforms a simple sandwich into an impressive meal. Consider these expert techniques:
- Temperature Balance: Ensure even temperature distribution throughout the sandwich to prevent cold spots
- Size Management: Keep portions manageable – if it’s bigger than your mouth, it’s too large
- Visual Appeal: Create height variation through strategic layering
Expert insight: “Layer ingredients so they don’t impose on the next ingredient. Together they should be great, but you want to be able to taste them separately”.
For maximum visual impact, consider using fresh herbs as garnish and serving complementary sides like pickles or olives. When serving multiple sandwiches, arrange them with slight overlap in a fan pattern for an elegant presentation.
Remember the “tectonic shift” principle – avoid stacking slick ingredients directly on top of each other, as this can cause the sandwich to slide apart. Instead, create friction points between layers using textured ingredients like lettuce or properly dried vegetables.
For events or gatherings, consider cutting sandwiches into smaller, bite-sized pieces. This not only makes them more manageable but also creates an appealing presentation that encourages sharing and sampling.
Temperature tip: If serving warm components, let them cool slightly before assembly to prevent unwanted condensation that could compromise your sandwich’s structure.
Conclusion
Crafting the perfect sandwich requires attention to detail at every step – from selecting premium ingredients to mastering professional assembly techniques. Each element plays a crucial role in creating a memorable eating experience that delights your taste buds and stays intact until the final bite.
Quality ingredients form the foundation, but proper technique transforms simple components into something special. Strategic layering prevents sliding, thoughtful spread combinations enhance flavors, and professional assembly methods ensure every bite delivers the perfect balance of ingredients.
Remember that practice makes perfect when creating your ideal sandwich. Start with these proven techniques, then experiment with different combinations of meats, cheeses, and spreads to discover your signature style. Soon you’ll be crafting sandwiches that rival those from your favorite deli.
You might also like: Make Traditional Bean Sandwich Senegal Recipe at Home